Let’s build and run headless Obyte wallet on RaspberryPi 3+. We’re going to run Obyte light node. Running full node is too slow to sync and the first database buildup can take weeks-months to complete Raspberry Pi 3+.
I also tried to do the full node syncing on another computer and then copied that DB into the Raspberry. Still, keeping it in sync was too much for Raspberry so it didn’t work out even then.

Prepare image on to the SD card
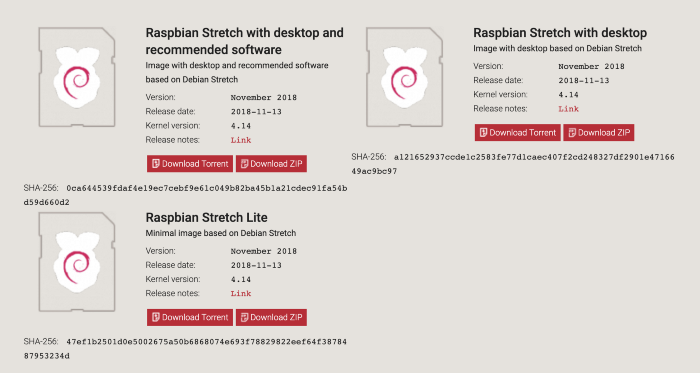
Go with the Raspbian Stretch Lite image from here https://www.raspberrypi.org/downloads/raspbian/. Raspian is based on Debian Linux.

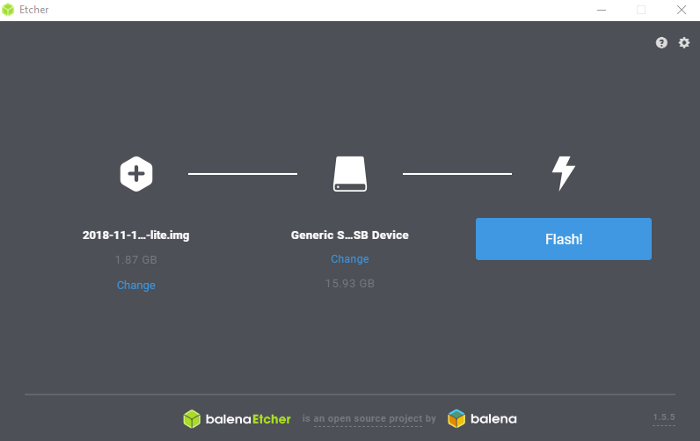
Next, download balenaEtcher (https://www.balena.io/etcher/) for burning that image onto the SD card. If you haven’t used it yet then the balenaEtcher is a very easy, convenient way to burn OS images into the SD & USB drives.
Note that I have 16GB SD card in my example, 8GB is more than enough.

Configure SSH & Wifi (if needed)
Now, enable SSH so you could connect into your Raspberry Pi without a need for a screen and keyboard. I’m going to use cable LAN and therefore don’t need to setup Wifi connection at the beginning.
To setup SSH you need to create the file ssh into the boot folder. Basically, there are two volumes – boot and rootfs. Create empty file names ssh and validate that it’s there.
For Wifi setup create a file named wpa_supplicant.conf again into the boot folder with the following content:
network={
    ssid="YOUR_SSID"
    psk="WIFI_PASSWORD"
}
This file will be copied on the first boot into the /etc/wpa_supplicant/wpa_supplicant.conf folder.
Find your Pi and log in
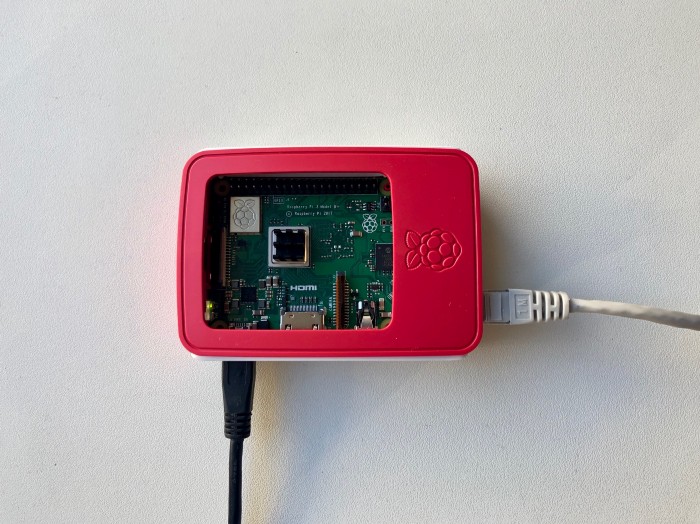
Now it’s time to put SD card into the Raspberry, connect LAN and power up.
You need to find your device IP address. One option is to assume that it has default hostname. In that case, you could ping raspberrypi.local to get it. The easiest way!
Other ways are to use arp -a, nmap (more info here https://www.raspberrypi.org/documentation/remote-access/ip-address.md) or get IP addresses list from your router and find it from there.
Log in using SSH using IP or ssh raspberrypi.local. The default username is “pi” and password “raspberry”. Change your password after login.
Update and configure
When logged in, first update its system.
sudo apt update
sudo apt upgrade
Then check Raspberry configuration tool to setup Wifi (if needed and you didn’t do this before) and extend file system. Run raspi-config.
For the menu “Advanced Options” choose “Expand Filesystem”. This will make Raspberry use the whole SD card.
To be sure that system is updated you could also run “Update” from there.
Voila!
Install NodeJS, Git, Tor and Screen
curl -sL https://deb.nodesource.com/setup_11.x | sudo -E bash -
sudo apt install nodejs git screen tor
I also like to use vim and sysv-rc-conf, but there’s no need to install these for this setup.
“Screen” will be used to run wallet on the background while remaining overview of the situation. This is totally optional.
Clone and configure wallet
Now clone “headless-obyte” from Github.
https://github.com/byteball/headless-obyte
git clone https://github.com/byteball/headless-obyte.git obyte
cd obyte
npm install
Create the user configuration file into ~/.config/headless-obyte/conf.jsonand enter the following.
{
    "socksHost": "127.0.0.1",
    "socksPort": 9050,
    "socksLocalDNS": true,    "control_addresses": [""],    "bLight": true,
    "bFaster": true
}
Don’t set
socksHost,socksPort, andsocksLocalDNSif you don’t wish to use TOR.
Also, you can also define control_addresses (array) with your Obyte wallet device address, so you can control your wallet remotely or payout_address, to restrict, which addresses the wallet can withdraw funds.
Run & enjoy
screen
node start.js --max-old-space-size=2048
It will ask to set the passphrase. Later on every run it also asks that. This is used to protect your wallet private keys.
When you run the node, “my pairing code” is the code that you can use to connect headless wallet with your Obyte wallet.
====== my pairing code: *****************@obyte.org/bb#randomstring
When everything work you can “Ctrl + a + d” to detach that screen. And with command screen -r go back into it. “Ctrl + d” or `exit` to terminate.
An issue to be dealt with will be handling growing log file size. One option is to disable the log, but it won’t suggest doing that.
For now, if everything runs without errors turn logs off by adding the following line into the conf.json file.
{
    “LOG_FILENAME”: “/dev/null”
}
References:
https://developer.obyte.org/writing-chatbots-for-byteball/setting-up-headless-wallet
https://www.raspberrypi.org/documentation/configuration/wireless/headless.md
https://www.raspberrypi.org/documentation/configuration/wireless/wireless-cli.md
https://medium.com/coinmonks/run-raspberry-pi-in-a-true-headless-state-cfb3431667de

Leave a Reply
You must be logged in to post a comment.